
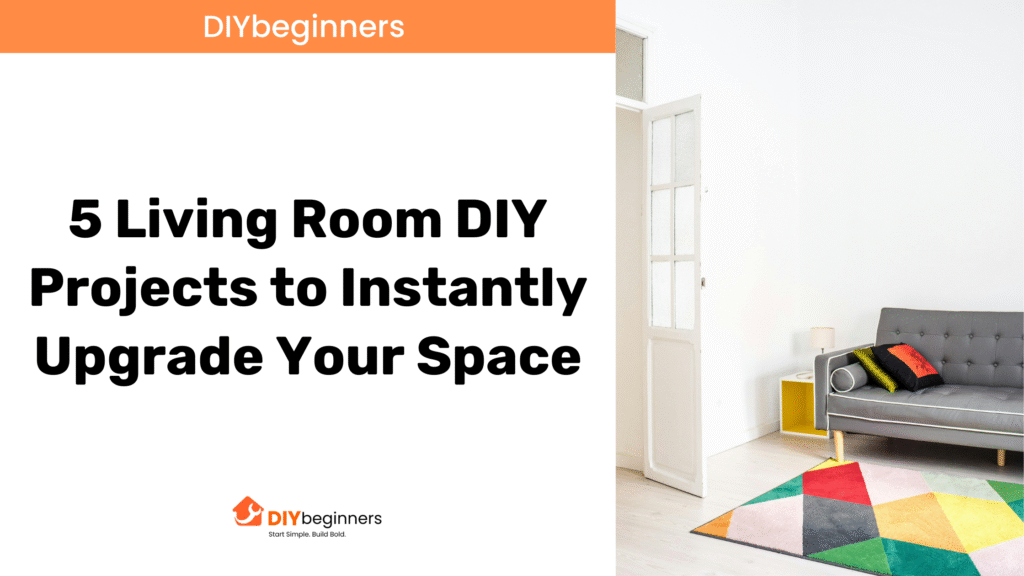
The living room is the living soul of your house, but it does not mean that you need to give it a makeover to make it appear fresh and welcoming. These living room DIY ideas will take just the weekend to change your room and yield maximum results with minimum spending. Whether you are a true novice or have a few amateur DIY projects under your belt, these projects are aimed at giving you spectacular results worthy enough to make your friends wonder who you hired as a designer.
The awesomeness of DIY living room style is that it is cheap and intimate. Rather than investing thousands of dollars into a professional remodel, you can transform a space to make it reflect your unique sense of style and develop some useful skills in the process. Whether it is a minor touch of paint or an innovative lighting idea, these five undertakings will demonstrate precisely how to remodel your living room.
Why DIY Living Room Decor Projects Work So Well
It is somewhat relevant to know why DIY solutions work so well in living room makeovers before delving into the projects. Living rooms are a good place to create a visual effect using coatings, furniture design, and other decorations. The top five DIY living room projects are low-cost renovation ideas that deliver tremendous amounts of effect with little or no money invested in materials or time.
1. Project 1: Transform Your Space with Strategic Paint Updates
Paint is still among the most potent instruments in any do-it-yourself arsenal, and quite rightly. A new coat of light neutral paint (colors such as agreeable gris are used to make spaces appear larger and more welcoming. This is not simply a painting project where you are going to paint the four walls the same color; you will create visual interest by the placement of color.
Select a wall to be the focal point fi,,rst and then go on to the rest of the walls. This may be the backdrop of your sofa or the one at which people stare as they contemplate in the room. Use a shade darker than that in the main wall (a different color can also be used), but remember that it should not overpower the walls.
Of the rest of the walls, keep to the light neutral ground. Such treatment sets depth and visual interest and keeps the airy feel that bright colors have. The difference in the accent wall from that of the other walls will immediately make your room look intentional and designed.
Pro Tip:
Only quality paint and primer in one. Although more expensive, it covers better and lasts longer, so that your DIY living room decor investment will pay off.
2. Project 2: Upgrade Your Window Treatments for Maximum Impact
Curtains and shades are rarely considered, but they are almost the top method of adding light and space to rooms. The trick is to hang the curtain larger and even higher than where the window really is. This small tip will make your windows seem bigger and your ceilings taller.
Install your curtain rods 4-6 inches above your window frame, and lengthen the rods between 6-8 inches on each side of the window. This enables your curtains to surround the window instead of closing it when open in order to enhance the maximum amount of daylight.
A low-cost option is to use electrical conduit as economical curtain rods. Depending on the look you want to give your bathroom, paint it the same color that matches your walls or perhaps in a metallic finish, which accents your hardware. This industrial effect gives personality at an affordable expense.
Select curtains that touch the rod of your curtain and the floor, even when they drop a bit. This gives it a luxurious custom appearance, giving your room an air of luxury that makes it feel much more expensive than the cost required to make it.
3. Project 3: Create a Stunning Gallery Wall
The reason why such gallery walls have become popular is that they enable one to decorate a large wall beautifully by bringing greater personality into it. The secret to successfully making a gallery wall is to plan it out before making any holes in the wall.
Start by collecting frames of all sizes- a mixture of different frames of styles and colors helps make them interesting to the eye. You do not need to go out and buy expensive artwork;k, simply cut out free printables, use family photos, or pages out of old books; they can be used as well and displayed in the proper frame.
To arrange your entire gallery wall on the floor in different compositions until you feel your desired balanced wall. Take a picture of your layout before you hand it in to refer to. Once you are ready to hang out, you want to begin with the center piece and then either side outwards, and continue to fill the wall and keep a steady gap between the frames.
This is one of those projects that is exactly how to decorate simple living room spaces on a budget with greater visual impact. Gallery walls are personal in nature and thus create conversation points and a center of interest that reflects your personality.
4. Project 4: Revitalize Existing Furniture
Donate Rather than purchase new furniture, reuse the furniture you already have. Furniture revitalization is probably one of the most rewarding fun home DIY projects since it is as much creative as it is about solving a practical problem.
First, search out a piece that has good bones but appears older in style, such as a coffee table with damaged wood or a side table with dated hardware. Following this, you will need to sand lightly to achieve a good base to paint or stain. When painting, select a color that complements the new color scheme in your room.
In wooden pieces, you can use stain rather than paint to bring out the wood in the piece. Darker stains will make lighter woods seem more heavy-duty, and the lighter stain will lighten the heavy pieces.
Hardware updates do not have to be forgotten. Updating the hardware drawer pulls, cabinet knobs, etc, is like providing the existing furniture with some new bling-bling. When using combinations of different metals in a room, match your finishes.
Advanced Tip:
Another idea is if you like the idea of taking risks, consider re-covering chair seats or distressing plain pieces of furniture by applying molding. They boost basic furnishings up to customized-looking items.
5. Project 5: Layer Your Lighting for Ambiance
Lighting plays a key role in defining the ambience of any ro,o, but it is the most overlooked part in decorating living rooms. Professionally designed lighting uses combining ambient light, task light, and accent light to make a space feel warm and friendly at any time of day.
Start by evaluating what your current lighting scenario looks like.. The majority of the living rooms are also overly dependent on the use of overhead light, which is very unfriendly and direct. Use table lamps, floor lamps, and even string lights to ensure many light sources are set at varying elevations in the room.
Put in dimmer switches on your overhead light boxes. This electrical tweak lets you turn the atmosphere as you wish 24 hours a day. When installing, ensure that power is switched off at the circuit breaker the and the use of an electrician should be considered where the latter is not confident with electrical. work
Think about the strategy in terms of ambient and task lighting placement. Position reading lights close to seating furniture, accent lighting with pictures or architecture, and at least one lamp in each corner to fill any dark areas.
Budget-Friendly Option:
There have been huge developments in the advancement of battery-operated LED lights over few years. There are no electrical connections needed to achieve gorgeous accent lighting with these versatile options
Getting Started with Your Transformation
The most appropriate way is to take one step at a time in upgrading the living room via the easy DIY projects instead of trying to do everything at a go. Choose the project that is the most exciting or the infrastructure that will solve your major problem. A success with one project will result in confidence and momentum for the next project.
Note that these homemade living room ideas are to be used in conjunction with one another. The color of the paint used has to match the changes made on your furniture, and the lights you use should augment your look on a gallery wall. Whenever you are starting a project, imagine it as one of the parts of the bigger picture of your space.
The transformation of your living room is not something that needs to be completed over a day, but the five projects outlined here are bound to create instant change and make the room better, more personal, and, well, more beautiful. The values you learn and the money you save are only a bonus; it is only the foundation of getting a sense of home.