
Looking to save more than $4,000 off the cost of designer coffee tables? An easy DIY coffee table project can help. Indeed, strolling through the inspiration sites, I found out that gorgeous coffee tables can cost an eye-watering amount of money.
But here is the positive news to all of us on a shoestring. With a few inexpensive items and a lot of imagination, you can build your coffee table without power tools for under $75. Indeed, others who indulge in do-it-yourself jobs have said they saved up to $500 by simply making their pieces.
Amazingly, homemade coffee tables are not only cost-effective, but they are also so durable. Most people who engage in this type of art at home cannot notice any wear or moisture exposure on their DIYs despite the long period of their use. The thing to keep in mind first when deciding how to plan your easy DIY coffee table as a beginner is that you do not require highly developed woodworking skills or complex machinery.
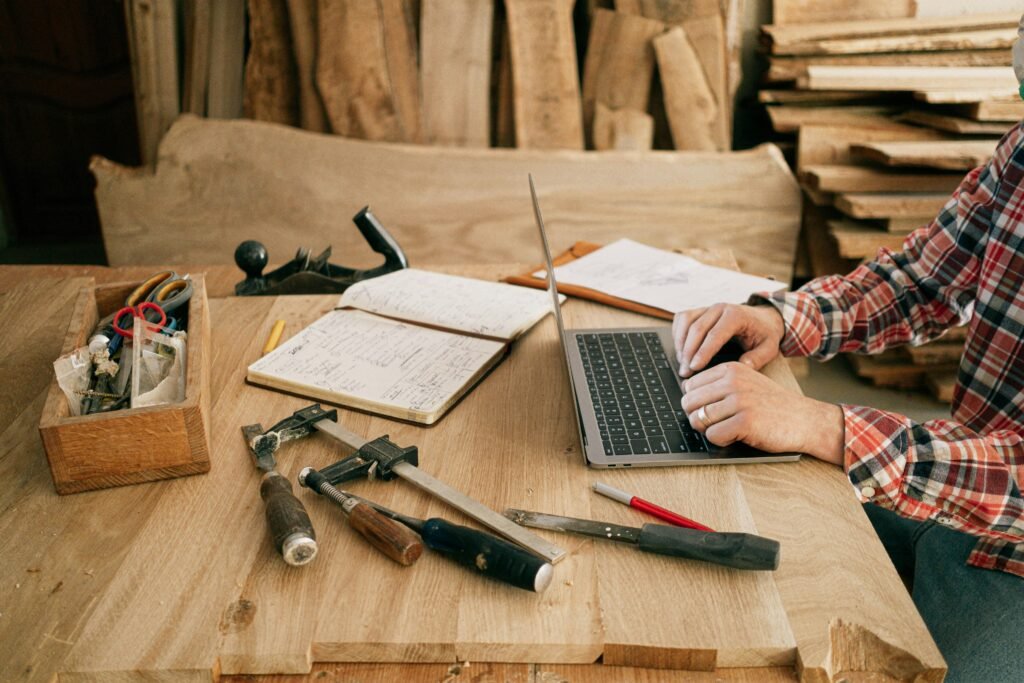
So, in this easy and simple DIY how-to coffee table tutorial, I am going to take you through the process step by step of choosing materials (some of these you can pick up at only $1.80 a piece), preparing elements, and assembling your finished product with just common materials. Be filling your first apartment or simply a DIY fan, simple coffee table plans are the best way to begin any furniture work.
Choose Your Design and Gather Materials
Selecting the right design for your makeshift coffee table starts with its shape. For smaller living spaces, a round coffee table offers a more convenient walk around the room. Round tables also eliminate sharp, dangerous corners that can pose a threat to children or pets. It is common to see rectangular tables paired with L-shaped sofas. Square tables go well with large sectionals or conversation areas.
Pick a shape: round, square, or rectangular.
For optimal proportions, your coffee table should measure half the length of your sofa (but no more than ⅔ the length). It should also be at sofa seat level, plus or minus 4 inches.
Find a tabletop: reuse or buy pre-cut
Finding an affordable tabletop is easier than you think. Menards and Home Depot have pre-cut round wood panels with diameters between 42 inches to 80 inches. Lowe’s and Ace Hardware also have square and rectangular shapes, which add to the versatility.
Nonetheless, reusing materials can save a lot of money. Think about reusing a section from an old kitchen countertop, recycled wooden planks, or even upcycled materials such as vintage doors and wire spools.
Choose a base: planter, crate, or stool
For a one-of-a-kind nd simple DIY coffee table, unconventional bases provide beauty and utility. For instance, large plant pots from Better Homes & Gardens at Walmart serve as bases, costing around $25 for a 16-inch planter. In addition, repurposed IKEA flower boxes add unique charm, and hypertufa planters bring a more rustic appearance.
Beginner-friendly materials to consider
Standard construction lumber, such as pine or fir, is beginner-friendly because it is low-cost and easy to work with. Basswood is also easy to work with because it is fairly lightweight. On the other end of the spectrum, hardwoods, while more visually appealing, are heavy, expensive, and difficult to work with, so these best suited for more advanced projects.
For a modern aesthetic on a budget, plywood is easy to work with and cut to shape. On the other hand, reclaimed wood adds charm while also making the table more eco-friendly. In any case, remember that the simpler the design, the easier it will be to build.
Paint, Prep, and Dry Your Components
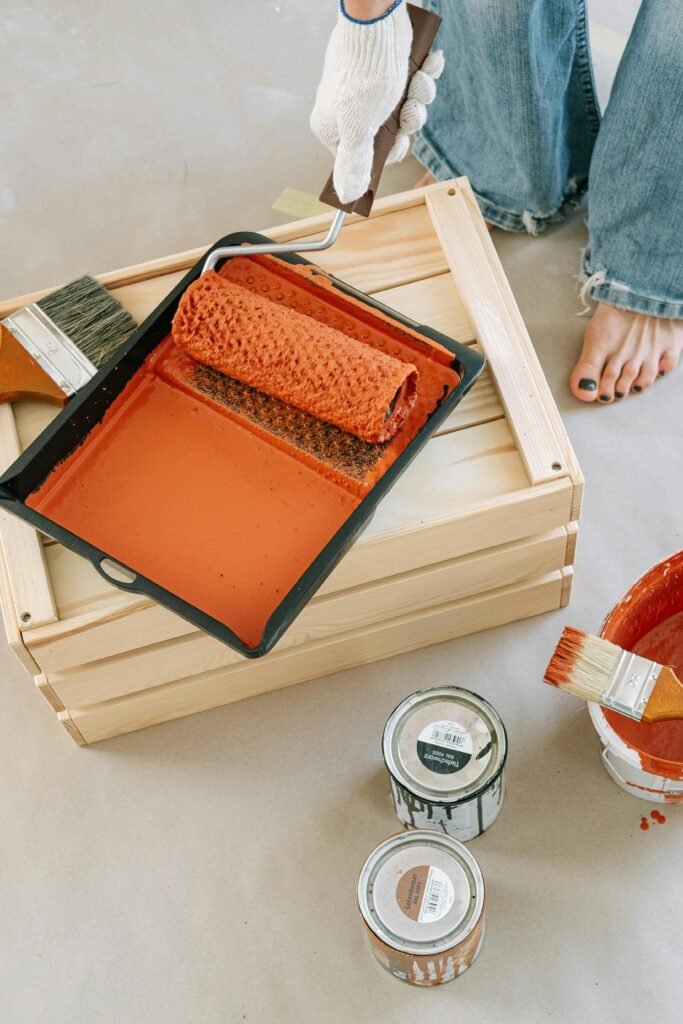
Your simple DIY coffee table will benefit greatly from proper preparation steps. As with any project, all the parts must be pre-primed, painted, and fully dried to ensure lasting rust-free protection before assembly.
To ensure easy paint adhesion, prime the wood and the base
and will absorb all you put on it, so primer is necessary. Raw wood is a thirsty thing. Clean down all surfaces in soapy water first to make them clean and free of any dirt and oils. After that, do a bit of light sanding of the wood using fine-grit sandpaper (220 grit is good) to give it a light tooth so that the paint will adhere better. Then sand and then clean all dust with a damp cloth.
When it comes to bare wood, the use of primer cannot be compromised since it will seal the surface of the wood and prevent the penetration of paint into the surface of the wood equally. The resultant effect is a smooth cover with less paint usage. You must thus apply an excellent primer like Sherwin-Williams Multi-Purpose Primer or Kilz. They need to apply primer using a brush on detailed spots and brushed corners, and a small roller that has 1/8nap (3/8 inches) that should be used on larger areas.
Apply exterior paint to become a surface coating that will last.
You might need to make an improvised coffee table that can be used in everyday life. Outdoor paint is also better since the protection is specifically designed to moisture, absolute change in temperature changes, and damage caused by UV. The purpose of general-purpose latex exterior paint is that it is sturdy with no requirement for a special sealer. Besides this, they also occur in different shines like flat, semi-gloss.
The bottom line is that, in addition to all of the amazing benefits of water-based exterior paint, such as Americana Decor Outdoor Living Paint, they are not toxic. Use a mini roller to apply the paint in smooth coats to bare wood on wide areas and a brush on edges, using a direction that follows the grain of the wood.
Let each coat dry fully before assembly.
Drying out is very patience-consuming. With latex paint, leave 1-2hours between 2 coats. The oil-based paints have a very slow drying process, and their drying time of dryingtime in the interval between two layers is approximately 24hours. Remember that when this step is not given its due regard, they can show up in your finish, giving rise to bubbles, streaks, or pits.
The drying process depends on numerous factors that a, re, among others, humidity, temperature, and thickness levels of an application. This would be in the best state for painting the roof at 72°F and moderate humidity. After using the final coat, wait 24 h at least, and then you are ready to build your basic, easy DIY coffee table. To achieve the optimum durability, the average curing time should not exceed 3-4 weeks; even a simple and easy-to-construct coffee table might be cured gently after 24 hours.
Assemble Without Power Tools
Building your own easy home-made coffee table will begin with the idea of using adhesives instead of power tools. This will make your project easy to work on for a beginner and also give good-looking, welded-up joints.
Use liquid nails or a strong adhesive.
First of all, it is necessary to choose an appropriate adhesive in order to create a makeshift coffee table. Liquid Nails Projects is a quality bonding adhesive that has the strength of holding up to 30 pounds per square inch in lightweight materials. The construction glues- e.g., LiquidNails- Paneling and Molding adhesives are fast-forming, positive, and possess an open time of 20 minutes. Normal wood glue yields a good strength between wood-to-wood joints.
Force brings and presses gear parts together.
Press the materials together after putting the adhesive on them and keep them in the same position for n for at least 30 seconds. The biggest demand is for initial surface preparation; clean, dry surfaces must be used. Rub out the dust or grease, or other old glue sources. The light sanding will assist in the creation of a better mechanical bond on a glossy surface.
Use clamps or weights while drying.
Then push down till stuffy big. The next time you find yourself without good clamps (which are pretty unlikely to be available to you anyway), you can use a book, a jug of wwaterra a brick as an adequate substitute for good clamps. Serious connections are ideally left to dry overnight, and hopefully, the actual 24 hours before stresses are applied to the joint.
Check for level and balance.
And last check, along with a straight edge, that your homemade, user-friendly IY coffee table is even keeled on the ground. Fix it up until the glue dries up well. It will prevent wobbling and consequently, your homemade coffee table, used for the first time, can assure you many years of good life without vibration.
Finishing Options and Styling Advice
Once you have assembled your table, it will last longer if you coat it with some protection and beauty. The finishing is what may allow you to transform your homemade coffee table into something fancier.
Apply a top coat for safeguarding..
Protective finishing matters as far as the durability of your easy DIY coffee table is concerned. A polyurethane finish will offer more protection against spills and general day-to-day use and wear. The water-based versions of the polyurethane were reported to dry quickly and produce a transparent coat as opposed to increasing the wood tone with oil-based versions of the polyurethane. In order to use maximum protection, one should spread 2-3 coatings and allow the coatings to dry before wiping. Overall, satin sheen supplies a rather attractive surface that does not reflect so much and is not so radiant.
Otherwise, go a more natural way and employ natural materials like beeswax. It is, as a rule e desirable to lay aside the just-finished workpieces to cure fully till they can come into regular use (3-5 days).
Utilize peel-and-stick veneer for a contemporary appearance..
Slightly fancier is self-adhesive wood veneer on your amateur, simple do-it-yourself coffee table. The tools required to lay this type of peel-and-stick product are minimal, with just a razor blade knife and a veneer scrape tool being the most commonly used ones. The smooth surfaces (which include plywood and whose bonding is accomplished using pressure-sensitive adhesives) form permanent bonds with smooth surfaces like MDF or particle board. One of the DIYers has noted that veneering was the easiest thing involved in his/her coffee table.
Suggestions for decorating your uncomplicated, do-it-yourself coffee table
- Utilize a decorative tray to gather small items
- Use a stack of Melissa’s oversized books or magazines
- Incorporate a container with plants or succulents
- Arrange decorative pieces at varying heights
Conclusion
It is worthwhile and economical to make a coffee table using a power tool. We have covered the notion that even a simple DIY project will whip up hundreds or even thousands of dollars worth of savings over buying it at retail. Another thing that adds value to the aspect of the product when it is completed is the happiness of completing something useful that you have created with your own hands.
The beauty of simplicity comes in, as it is a project that suits a person who is willing to do it. Any individual must be allowed to select a decent design, seek affordable materials, assemble the parts in a decent manner, and lump them together into a project with the help of simple glue instead of making use of high-tech machines and heavy-duty equipment. You can also make the customization of the products very easily by using different products, by providing diverse finishes and styling accessories to fit your own space.
Not only is your hodge-podge coffee table going to set you back some hard-earned cash, but it is also likely to draw gossipy attention as your guests discover that you created it with less than $75! Above all, this project will make one get acquainted with the world of DIY furniture. When you finish making this simple coffee table, you may be motivated to take a look at furniture items beyond this table.
Wait patiently to make one step at a time, and even more so, permit the ingredients to become dry in such a way. Waiting will prove to be worth it, leading to more sustainable and long-term employment. And lastly, the most important and the most obvious- Take this project and own it by taking a few risks with shape, or material, decorative items that will guide the creation of your style.