
5 Living Room DIY Projects to Instantly Upgrade Your Space
The living room is the living soul of your house, but it does not mean that you need to give […]

The living room is the living soul of your house, but it does not mean that you need to give […]
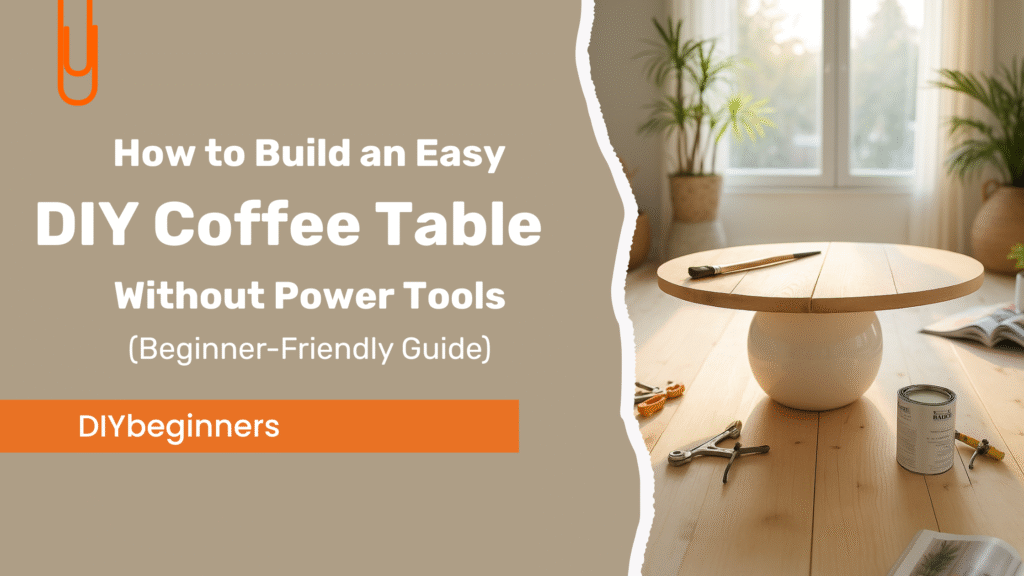
Looking to save more than $4,000 off the cost of designer coffee tables? An easy DIY coffee table project can

Every inch is crucial when it comes to storage solutions in small spaces. In small spaces, we are not just

Introduction Ever stared at a space in your home and thought, ”I have no idea what to do with this

Is your living room truly a Cozy living room, or just a space with furniture? According to designers, creating a

Introduction Is your apartment bedroom brimming with untapped potential? You’re certainly not alone. Many of us struggle to transform this